Apple Pie Traditions

When I started my blog, I said I wasn’t going to post recipes and cooking things. Don’t get me wrong, I love to cook and I love to make food, “pretty”. But there is just so much good stuff out there, that I usually figure there’s no point in trying to jump into the mix of perfectly positioned “fork next to dessert” photos on Pinterest.
But this apple pie recipe is special. It’s the one my mom made every year for Thanksgiving. Or for special gatherings after church. Or for our diabetic uncle who ate it because it was the only dessert he could eat at the family gatherings. It’s the dessert I grew up making with her. I would peel the apples, waiting patiently by by bowl, waiting for her to give me the okay to drop the next ingredient in. Waiting to taste the dough. Waiting for those little extra scraps of dough to make my own pie or tart creation with. Waiting until it was finished, and the guests had arrived and we could finally dig in.
Everything was homemade in my house. Flour was ground in a grinder and always whole wheat. Seeds and nuts and were organic, from the co-op my mom was a part of. Sugar was always substituted with honey or molasses for a healthier finish. This was the household I grew up in.
I haven’t kept as natural or organic kitchen as my mom, and I don’t own a flour grinder. But when it comes to apple pie, I have been spoiled for life. I’ve never enjoyed an apple pie from the store. And I don’t understand how you can use those apples from a can when you’re making an apple pie. And please please please don’t pop your crust out of a tube or thaw a crust from your local grocer’s freezer. It just isn’t the same.
So this is our family apple pie recipe. I’ve given it a few tweaks over the years. But this is the pie that disappears almost instantly at family and church gatherings. If, per chance, you happen to have leftovers – no worries, they make an awesome breakfast.
 Here’s what you will need
For the crust:
1 1/4 cup whole wheat flour
1 cup all purpose flour
dash of salt
2/3 cup butter
10+ tablespoons ICE water. (make sure there is ice in the water as you are taking if out of the cup)
For the pie filling:
8+ apples
juice of 1/2 a lemon
1-2 tablespoons vanilla
3/4 cup honey or sugar
1/2 teaspoon cinnamon
1/4 teaspoon nutmeg
1/4 teaspoon cloves (if you don’t have this ingredient, it is worth purchasing. it adds such a richness and balance to the sweet apples)
Generous sprinkling of whole wheat flour
Generous dash of salt
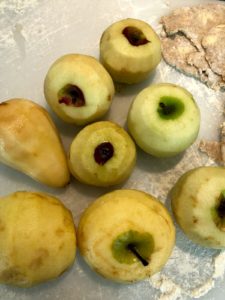
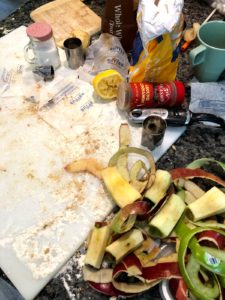
Start with a good variety of apples.
On this particular day, we grabbed fujis, macintosh, granny smith, and I usually throw a pear in with the mix. Peel and dice – preferably by hand. If you own one of those cool crank peeler things that peels and dices, I know this is hard to do … but for apple pie, set it aside. If you have one that only peels – like this one, great – use it. But please please please don’t use that kind that pre-cuts the apple for you. This makes the apples too small and they end up as smoosh and loose their great apple pie texture. Those cute rings are good for snacks and applesauce and all sorts of other things, but not for pie.
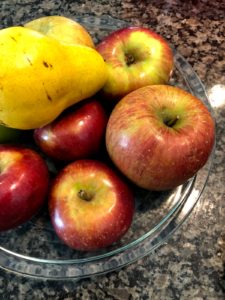
a mix of apples is best – add in a pear for more flavor. bruised, bitten, almost bad apples are all okay!
 dice by hand – don’t use those spirals from your fancy apple peeler
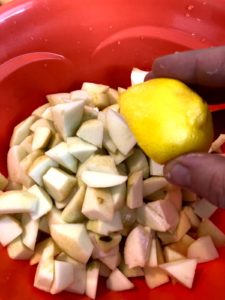
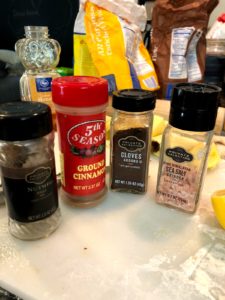 Add in the lemon, spices, sugar or honey, flour, vanilla, flour, and salt. Let sit while you make the crust. Like my dollar store spices mixed in with with my fancy glass jar spices? #realkitchen 🙂
Now, for the crust.
Making crust scares people. Hence the abundance of pop-can crusts and freezer shells. But if you know a couple of easy, fail-proof tricks, you’ll be set. I’ve tried to highlight them all here.
First – mix your flour and salt. I’ve used whole wheat for this recipe because everyone I make pie for prefers it whole wheat. Personally, I think it tastes better. But if you only have white flour – it will work, just decrease your water (more like 8 tbls instead of 10.) The mixture of white and whole wheat makes your crust stick together a little easier.
Once you’ve mixed your flours and salt – add your water, little by little.
Hints to remember:
First- your water should be ice cold. Like – it actually should have ice in it as you are working. This keeps the butter from melting as you work with your mixture.
Second – Don’t overmix Mentally divide your bowl into quarters. Drop two tablespoons into one quarter of the bowl, very gently stir only the quarter just to make the flour wet. It should not stick together. You will have flour falling out. You will think you need to stir more. Don’t. Now move to the next quarter, and do the same thing. Repeat until the whole bowl is lightly moistened, but there is still flour all over the place. Add the last two tablespoons of ice water to the top. Now, pick 1/2 the dough up with your hands and squish it together into a ball.
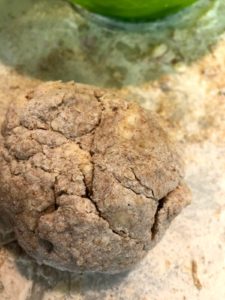 See how the ball looks dry? It looks like it needs more water? It looks still separated? This is how it is supposed to look.
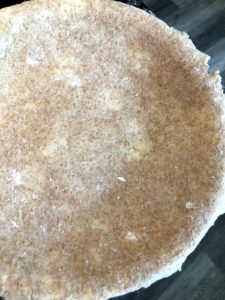
Spread a generous handful of flour onto a counter top or large cutting board. Rub a handful of flour over your rolling pin. Begin to roll using a floured, wooden, rolling pin. Roll from middle to edge, from middle to edge, from middle to edge – until the crust is pretty thin. If the crust gets sticky in there, add just a sprinking of flour over the top.
 When the crust is rolled out, gently pull it off the cutting board/counter. If it sticks a little, use a knife or spatula to gently push it up little by little. Wrap it around your rolling pin to move it, then drop it into your pie pan.
See the white spots mixed in with the darker areas? If you want a good crust, that’s what you should see. You don’t want it all mixed together. That separated butter/flour look gives the crust that perfect combination of crunchy and melt-in-your-mouth texture that makes a pie really really good. You can’t get this effect from a store bought crust.
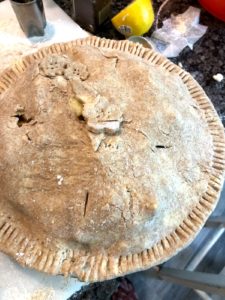
Now, add your apple filling, but don’t trim the crust until you have a top on there. Repeat above steps, adding more flour to everything before you begin again. Put the top on. Satisfaction.
 Now, the fun part.
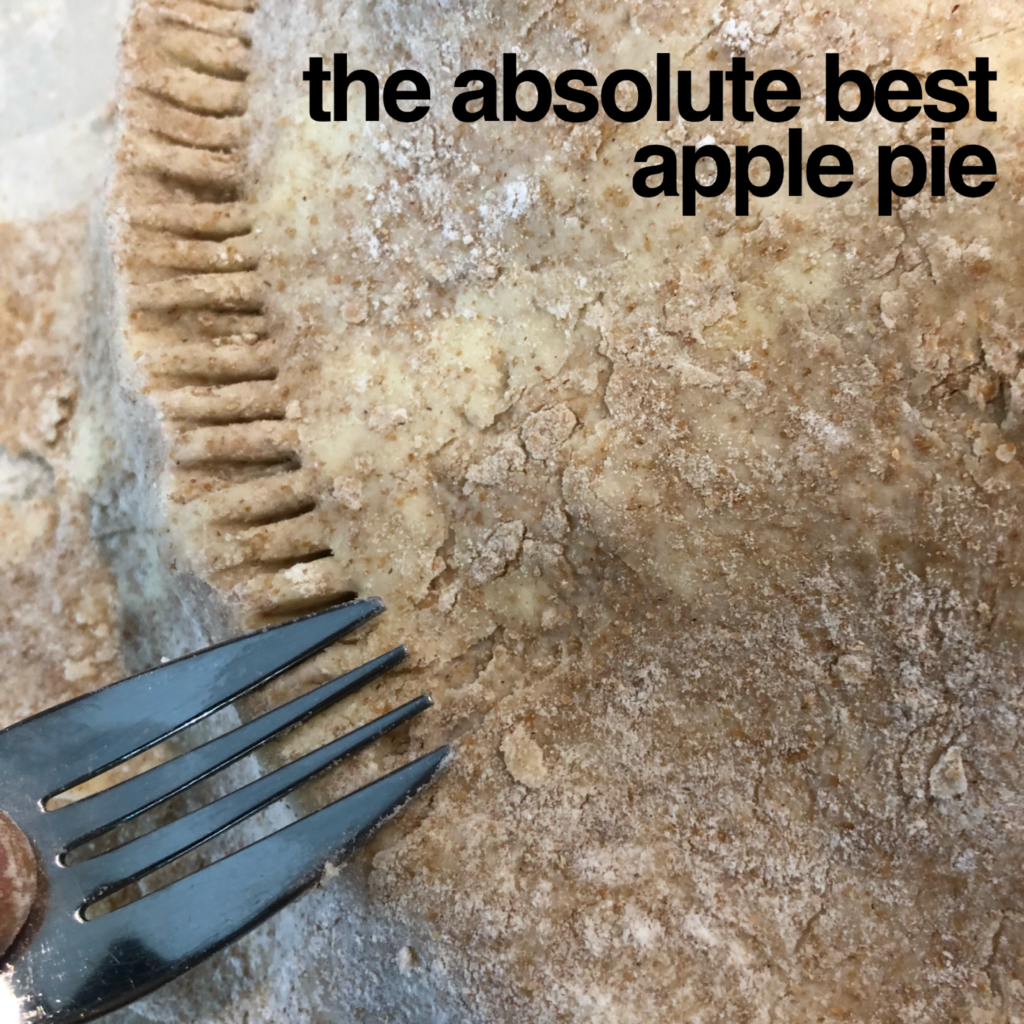
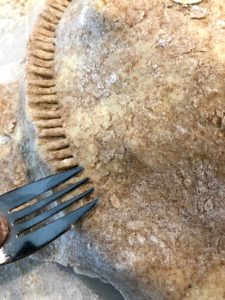
Using a sharp (preferably serrated) knife, go around the rip of the pan, triming off the edges. Save them for later.
Now, go along the edges with a fork. You can be fancier if you’d like, but this is our standard finish. Put a few strategically placed slits in the middle.
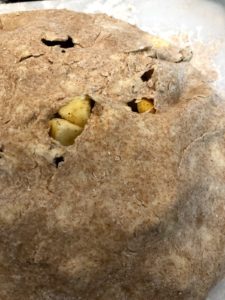
 My daughter was worried that I had a small whole in the top after I put the top crust on. No worries. This is where you can use your scraps.
You can cut out leaves, apples, or any other decorations you’d like. Gently attach them to the pie by moistening the crust with water or milk. You can score it too if you’d like (remember pottery class?)
You can brush a small amount of milk over the crust if you’d like too. Or a beaten egg yolk (that will make it really shiny). I usually don’t, as it doesn’t do anything for the taste. But it gives it a slightly nicer appearance. Go for it if you want. (I didn’t for ours as I prefer the organic look)
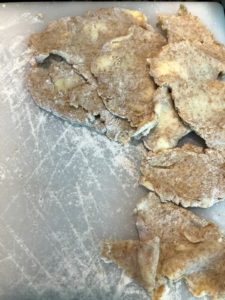
 Still have extra scraps?
Connect them together to make another small pie or tart.
 Let your cute little kids eat them.
Let let your beautiful little girl have a blast making her own berry tart with them :). (1 cup frozen berries, 1 tbls flour, and 2 tbls sugar – easy peasy)

Cook at 375 for 50-60 minutes.
 Clean up your mess while it bakes…again, #realkitchen
 Voila! Now grab some vanilla ice cream and some friends or kiddos or an appreciative husband to share with. Enjoy!
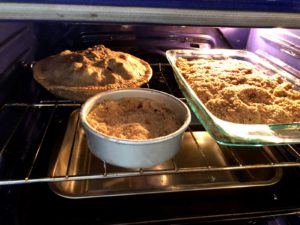
PS – While it bakes, there will probably be a small amount of apple goo that seeps out of the pie. this is great, and means its almost done – but if it lands on the bottom of your oven, it will burn, and smell like the house is on fire. Prevent this by putting a piece of foil or cookie sheet under your pie to catch the drips… and avoid the “oh no did i burn the pies!?!?!?” smell.
Hope you enjoyed our apple pie saga, I promise not to post food posts too often, but this was a family adventure, and went along with our story of the week, “How to Make and Apple Pie and See the World” by Marjorie Priceman.